반응형
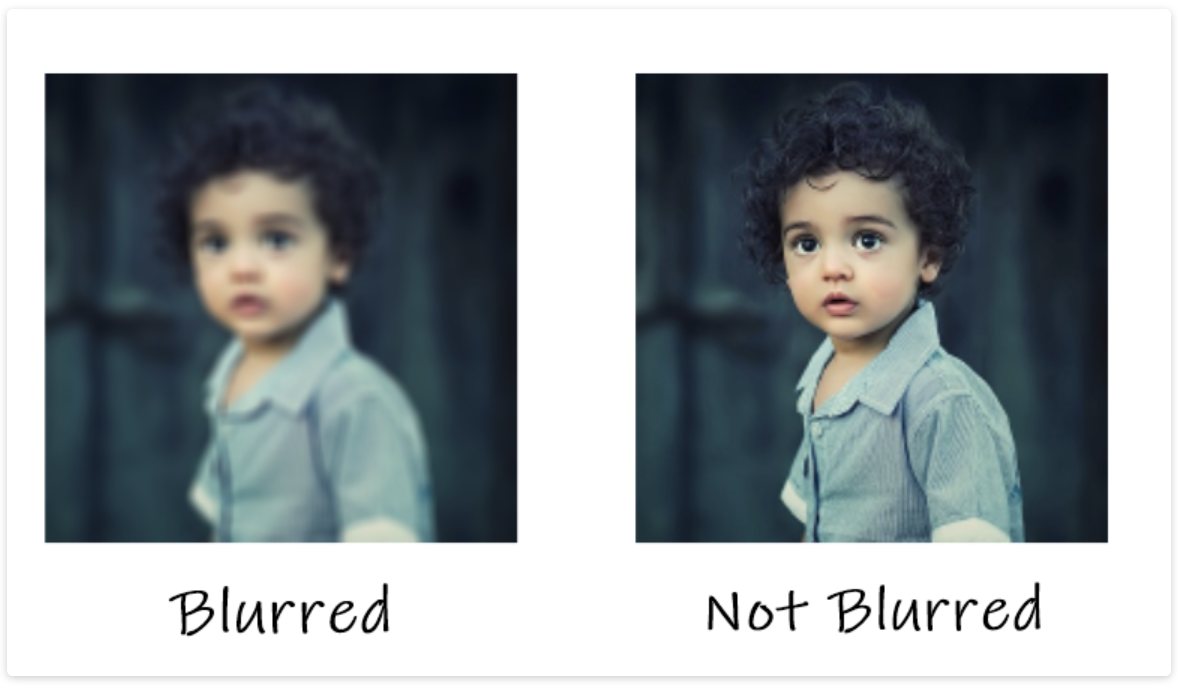
input_video.mp4를 이용해서, 얼마나 Blurry 한지를 파악하고, 이를 이용해서 blurry를 detect하는 스크립트를 소개하도록 하겠습니다.
기본적인 원리는, 샤프한 이미지일수록, edge가 잘 define되어있고, blurry 한 이미지일 수록 그렇지 못하다는 점에 착안하여, variance of laplacian 의 값을 찾아서, 그 laplacian 값이 낮을 수록 더 blurry한 이미지라는 사실을 이용하는 것입니다.
이를 이용해서, 더 높은 화질의 이미지를 구할수 있을 것으로 보입니다.
물론 Threshold 값에 대해서는 여러 번 실험을 통해서 최적의 값을 구해야겠죠?
reference : https://theailearner.com/2021/10/30/blur-detection-using-the-variance-of-the-laplacian-method/
import cv2

# Function to calculate blur
def calculate_blur(image):
    gray = cv2.cvtColor(image, cv2.COLOR_BGR2GRAY)
    return cv2.Laplacian(gray, cv2.CV_64F).var()

# Load the video file
video_path = 'input_video.mp4'
video = cv2.VideoCapture(video_path)

# Check if the video file was successfully opened
if not video.isOpened():
    print("Error opening video file")

# Get video properties
frame_width = int(video.get(cv2.CAP_PROP_FRAME_WIDTH))
frame_height = int(video.get(cv2.CAP_PROP_FRAME_HEIGHT))
fps = video.get(cv2.CAP_PROP_FPS)

# Calculate the position for displaying text in the middle of the screen
text_position = (int(frame_width / 2), int(frame_height / 2))

# Create the video writer
output_path = 'output_video.mp4'
output = cv2.VideoWriter(output_path, cv2.VideoWriter_fourcc(*'mp4v'), fps, (frame_width, frame_height))

# Iterate through each frame in the video
while True:
    # Read the current frame
    ret, frame = video.read()

    # Check if the frame was successfully read
    if not ret:
        break

    # Calculate the blur value for the current frame
    blur_value = calculate_blur(frame)

    # Determine the text and color based on blur value
    if blur_value < 50:
        text = f"FOGGY!"
        text_color = (0, 0, 255)  # Red color
    else:
        text = f"Blur Value: {blur_value:.2f}"
        text_color = (0, 255, 0)  # Green color

    # Get the size of the text
    text_size, _ = cv2.getTextSize(text, cv2.FONT_HERSHEY_SIMPLEX, 1, 2)

    # Calculate the position to display text in the middle of the screen
    text_position = (int((frame_width - text_size[0]) / 2), int((frame_height + text_size[1]) / 2))

    # Display the text on the frame
    if text == "FOGGY!":
        cv2.putText(frame, text, text_position, cv2.FONT_HERSHEY_SIMPLEX, 2, text_color, 3)  # Larger font scale
    else:
        cv2.putText(frame, text, text_position, cv2.FONT_HERSHEY_SIMPLEX, 1, text_color, 2)

    # Write the frame with overlay to the output video
    output.write(frame)

    # Display the frame
    cv2.imshow("Video", frame)

    # Check for key press
    if cv2.waitKey(1) & 0xFF == ord('q'):
        break

# Release the video file, video writer, and close windows
video.release()
output.release()
cv2.destroyAllWindows()

print("Output video saved successfully.")
반응형
'Image Processing' 카테고리의 다른 글
| pycocotools를 이용해 masking하기! (1) | 2022.08.08 |
|---|---|
| 여러 개의 (multiple) RTSP 서버 세팅 (0) | 2022.04.26 |